Saturday, May 31, 2014
Hello Everyone,
Today I want to share my lastest card tutorial with you...
Using this month's beautiful kit, I created this card with step by step intstructions.
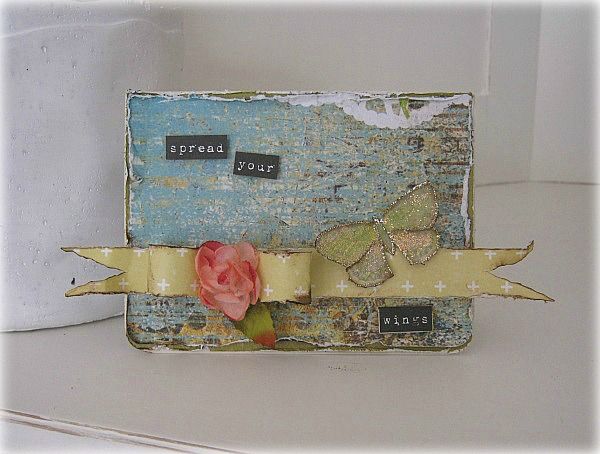
and here's a peek on how it came together.
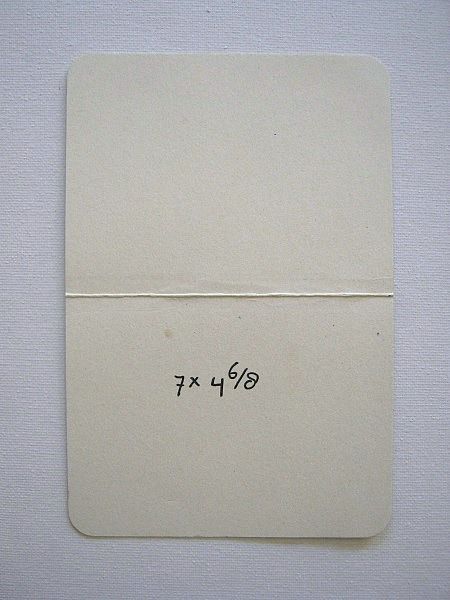
For my base card I cut a piece of cream colored cardstock at 7 x 4.6/8 Rounded the corners and scored in the middle.
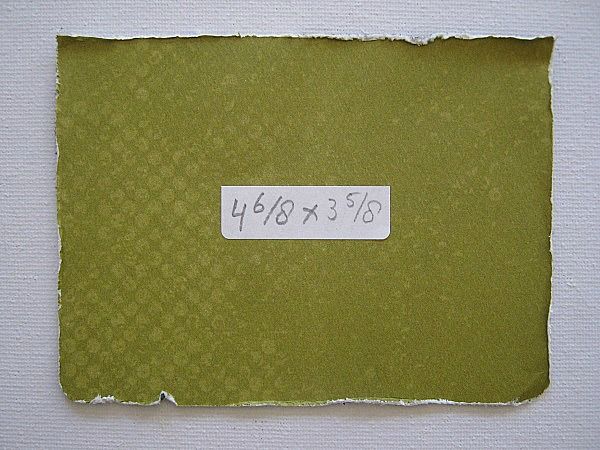
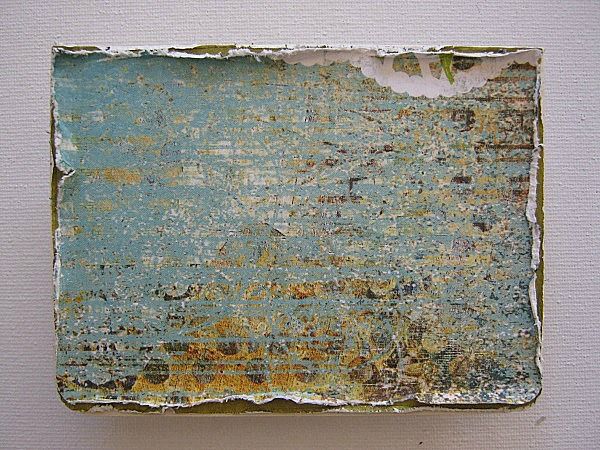
My first layer of pp I cut at 4.6/8 x 3.5/8 and I distressed the edges.
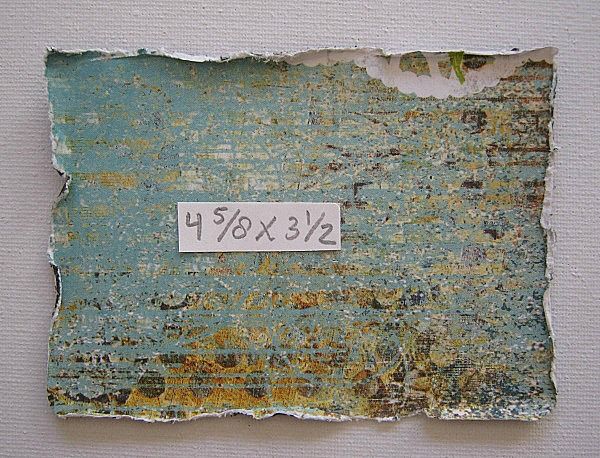
For my second layer I cut a piece of PP at 4.5/8 x 3.1/2 and distressed the edges.
I glued the first 2 layers to my base card.
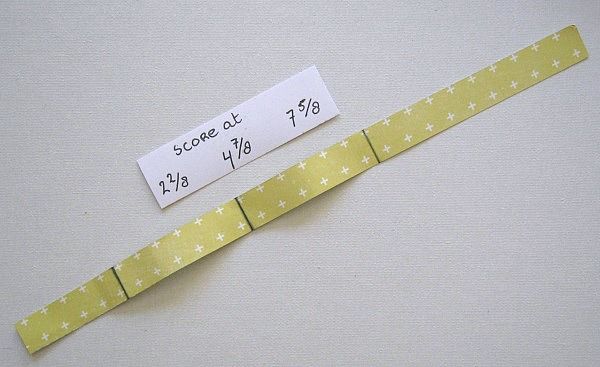
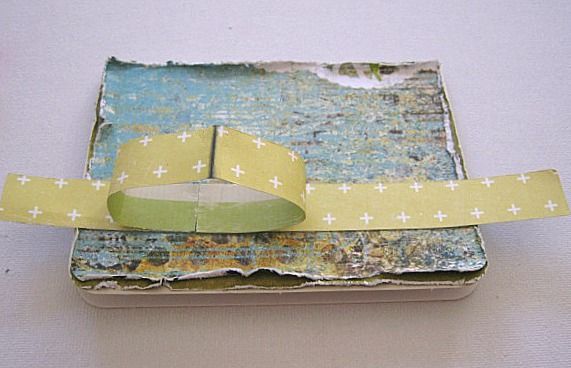
Then I cut a strip of PP at 12 x 3/4 of an inch and scored it at 2.2/8 - 4.7/8 and 7.5/8
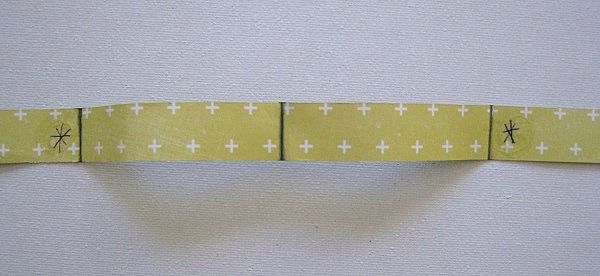
I added a drop of glue at the marked spots.

and glued it like this.
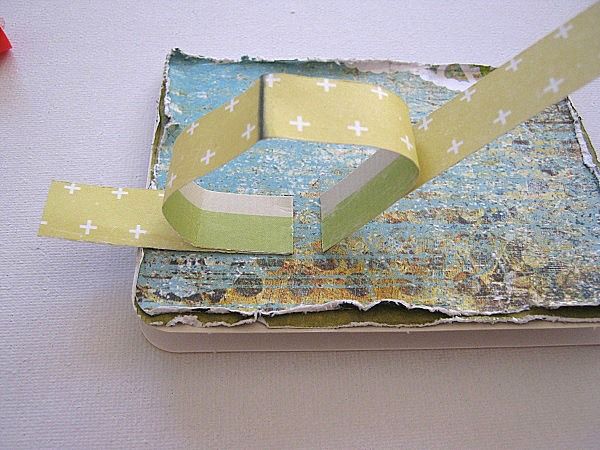
Then I glued the left part of the strip, to my card, like in the picture
And the right side like this, towards the right side edge
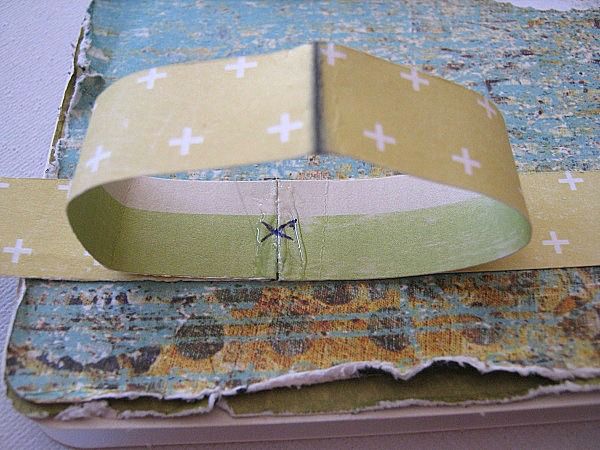
Then, where the mark is, I added a bit of glue
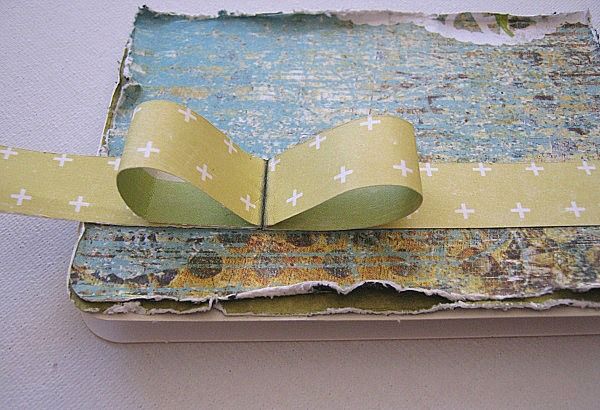
and I pressed the middle down, to create a bow.
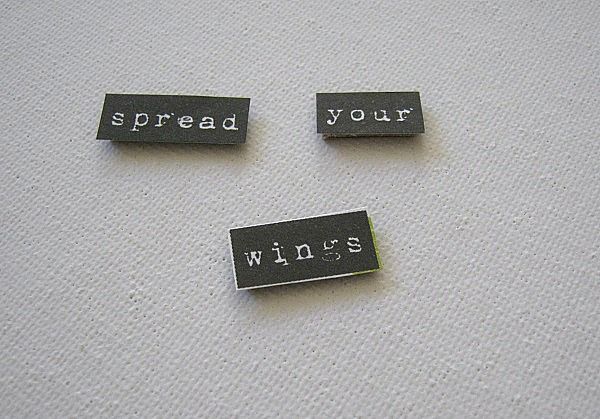
I cut out these words, to form my sentiment. I raised them, by using a piece of cardboard.
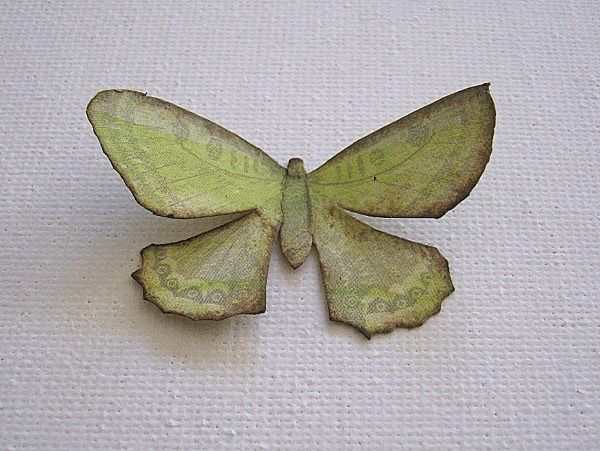
I also fussy cut this butterfly. Inked up the edges and gave the wings a deep cut.
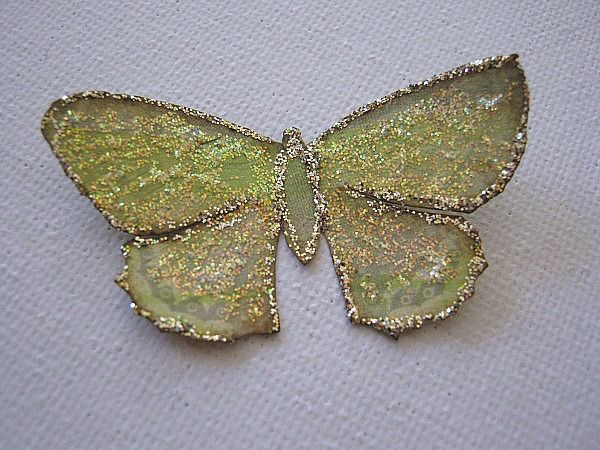
Then I added some stickles (crystical and patina)
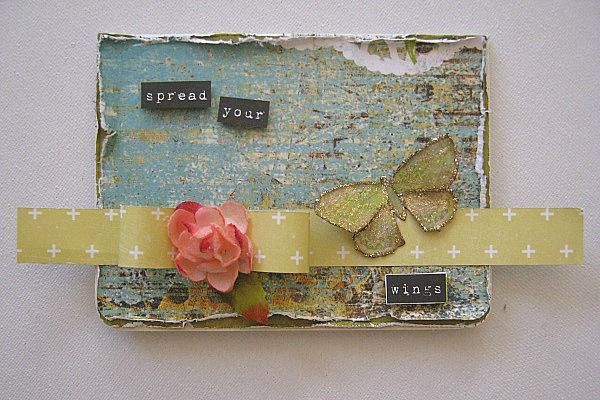
I glued my sentiment and butterfly in place, and selected 1 of the flowers that came in the kit.
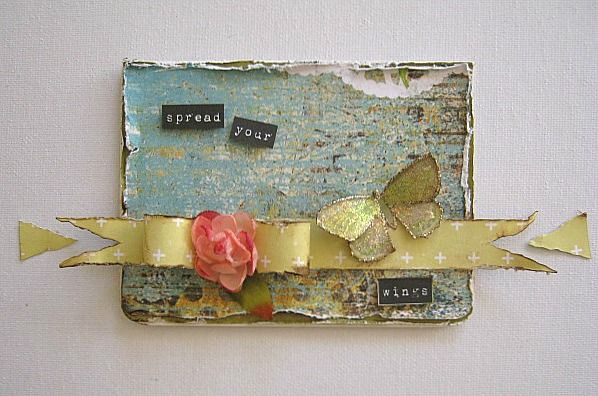
I then cut the strip ends, and inked them up. I also added some (which I should have done before) to the rest of the strip/bow.
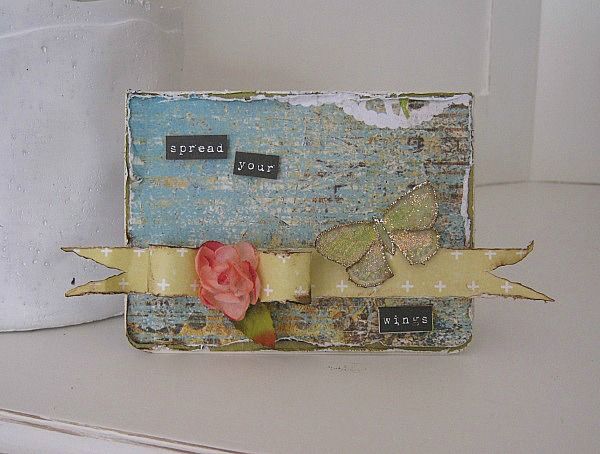
And called it done.
I love the simplicity of this card, yet (imo) it has a gorgeous shabby feel to it.
I hope you enjoyed the tutorial, and feel inspired.
Have a lovely weekend.
Using this month's beautiful kit, I created this card with step by step intstructions.

and here's a peek on how it came together.

For my base card I cut a piece of cream colored cardstock at 7 x 4.6/8 Rounded the corners and scored in the middle.

My first layer of pp I cut at 4.6/8 x 3.5/8 and I distressed the edges.

For my second layer I cut a piece of PP at 4.5/8 x 3.1/2 and distressed the edges.

I glued the first 2 layers to my base card.

Then I cut a strip of PP at 12 x 3/4 of an inch and scored it at 2.2/8 - 4.7/8 and 7.5/8

I added a drop of glue at the marked spots.

and glued it like this.

Then I glued the left part of the strip, to my card, like in the picture

And the right side like this, towards the right side edge

Then, where the mark is, I added a bit of glue

and I pressed the middle down, to create a bow.

I cut out these words, to form my sentiment. I raised them, by using a piece of cardboard.

I also fussy cut this butterfly. Inked up the edges and gave the wings a deep cut.

Then I added some stickles (crystical and patina)

I glued my sentiment and butterfly in place, and selected 1 of the flowers that came in the kit.

I then cut the strip ends, and inked them up. I also added some (which I should have done before) to the rest of the strip/bow.

And called it done.
I love the simplicity of this card, yet (imo) it has a gorgeous shabby feel to it.
I hope you enjoyed the tutorial, and feel inspired.
Have a lovely weekend.
Tuesday, May 27, 2014
Today I have quite a bit to share!
I have been busy crafting with the stunning Swirlydoos May kit,"Bohemian Spring" !
With the exception of the chippies from Leaky Shed Studio and the Holtz knobs,everything is from the Swirlydoo May kit and Add-ons..
My first project is an OTP.

First I painted the entire cube with Copper acrylic paint. I pulled out the inside glass,covered the sides with the kit's Kaisercraft Kaleidoscope papers then backed the glass with the paper and set it back in.

The Tim Holtz light bulbs and Prima garden fountain are from the kit. I topped the bulbs with a Holtz handle from my stash, altered a watchpart chippie and topped it with a gem from the kit.

I love the Kaleidoscope Collectibles in the Embellishment Add-on because they mix and match effortlessly.

I am having fun with microbeads at the moment and added them all over using gloss accents.

The watch parts chippies were embossed in copper and the smaller one embossed with Stampendous aged black enamel. This is one of my favorite embossing powder because of the combination of colors.

The large gears were embossed with Stampin' Up powder in Vintage Verdigris then distressed with copper ink.

I was inspired by Tracey Sabella's tutorial here and created a cracked glass effect using the plastic from the package, Ranger Crackle Accents and gold microbeads.

Did I mention how much I love these little lightbulbs? The larger watchpart was embossed lightly to give it a hammered look.

For the top, I used a clock chippie and painted it with Copper Rub n' Buff.

I popped out the inner circle and after inking it with Patina Rub n' Buff,covered it with Crackle Accents. The knob was altered with Gold Rub n' Buff.
My second project was created for the Swirlydoo's Round Robin Challenge. If you love Round Robins or have never played,come check it out here.

This is my oldest son,Hayden, at his Senior Prom, 4 years ago. His date looked gorgeous,but that was a difficult dress to scrap!

Using this Prima stencil,I applied texture paste to the background and misted it with blues and greens.
The Flourish chippie was covered in Crackle Accents and microbeads. Under the tearaway openings I inserted the black Prima mats after embossing and highlighting them with blue chalk ink.

I added a few flowers from my stash and used mixed microbeads on this larger Flourish chippie as well.

Keeping the same color scheme, I embossed the paper and used it to mat the pic that was edged in gold Rub n' Buff. The large circle frame chippie was rubbed with a mix of Copper,Gold and patina Rub n' Buff. I seriously love this stuff,if you can't tell. The green gems were cut from the generous bling swatch from the kit.

As you can see, lots of dimension to this page!
Whew! That's all I have for today!
This is one of my all-time favorite kits and thanks for stopping by!

Saturday, May 24, 2014
Hi there! Tracey here and today I'm going to show you how I created these "Tattered Blooms", using the Tim Holtz "Tattered Florals" die and the new Marion Smith Bloom tool!

Here's what you need to gather:

4 large flowers
2 medium flowers
some stamens (these are from the April kit)
a circle of any paper(this will be your base)
mist
awl
bloom tool

Mist both sides of all your flowers.
Let them dry until lightly damp or
hit them with the heat gun if you have no patience like me.

Gently tear or cut off the petals of the larger flower.

Set your petal as shown with the fatter end covering the concave opening.

Put the top of the Bloom tool into the bottom and twist.
If you do not have the petal covering the opening you may experience a most unpleasant nails on a chalkboard type sensation when you twist.
You'll want to avoid that for sanity's sake.

When you open your tool,you will find a nicely curved little petal.
Pop it out and repeat with all your petals.

Glue your curved petals to your circle base.

Overlap and arrange to your liking.

Now take your small flowers and lay it across the bottom (concave) part of the tool.
Close tool and twist.

You will have bowl shaped little blooms.
Cute,right?

Tear the bloom as shown above.

Fold in and glue into a small buttercup shaped bloom as above.
Do the same with all the small flowers.

Stack your small blooms inside your large blooms and glue together.
Pierce the center all the way through.

Insert your stamens through the center hole and bend back stems to secure.

Ta-da! Your bloom is done!
Feel free to add definition with ink,Stickles,beads or whatever you can imagine!

I added gesso and another stamen to this one
and clustered it with coordinating green burlap flowers-all from the April kit.
So,give it a try-pull out your Tattered Florals or flower punches and see what you can create!

Subscribe to:
Posts (Atom)

Be sure to "LIKE & FOLLOW" Swirlydoos for special FB only deals and promos
Follow this blog with bloglovin

Scrapbook Sketches

see all of our sketches here
Keep Tabs On Our Blog!


Popular Posts
-
 Welcome to Swirlydoos November Kit Reveal Blog Hop BLOCK PARTY!!! That's right, we are having a party and you are all invit...
 -
 Welcome to Swirlydoos' Mystical Winter kit reveal Blog Hop Block Party!! Happy New Year and Welcome!!! This month's kit,...
 -
 Welcome to Swirlydoos' February Blog Hop Block Party!! Welcome to Swirlydoos February Kit Reveal Blog Hop BLOCK PARTY!!! ...
 -
 Welcome to Swirlydoos December Kit Reveal Blog Hop BLOCK PARTY!!! We are having a party and you are all invited. We have some amazing projec...
 -
 Welcome to: Swirlydoos Kit Club February Scrapbook Kit Reveal & Blog Hop! Swirlydoos is proud to bring you our beautiful Febr...
 -
 Welcome back! We have a really fun blog hop all set for you today. Our May kit, So Chic , is well.....just that...so chic! This kit is ...
 -
 Thank you for joining us today for our ONE DAY blog hop featuring our September kit collection, Gilted Pleasure . **All collec...
 -
 Welcome to Swirlydoos' March Kit Reveal Blog Hop Block Party!! We have some amazing projects for you to see today and as a bonus...
 -
 Welcome to Swirlydoos' June Kit Reveal Blog Hop Block Party!! We are so pleased to show off our June kit, Antiquities!!! This kit...
 -
 SCROLL DOWN FOR THE 12 DAYS OF CHRISTMAS CONTEST: DAY FIVE! Welcome to: Swirlydoos Kit Club December Scrapbook Kit Reveal & Blo...